Tired of staring at a blank spreadsheet struggling to figure out how best to organize your brand’s social media calendar? Planning months ahead is of course ideal but it isn’t always as easy as it seems.
At Arlington Strategy, we have developed and tested multiple spreadsheet layouts and scheduling platforms over the years that have slowly evolved into the Content Calendar creation process we use today.
Here is a quick peek inside our process:
Step 1: Build your monthly spreadsheet
We use Google Sheets to build our Content Calendars since our team uses GSuite and it makes for easy collaboration and linking files to Google Drive.
When building the spreadsheet, include columns for: date, theme (i.e. holiday, #MotivationalMonday, Behind the Scenes, etc.), copy, applicable link, image to include the link to the image you plan to share, and hashtags that you’ve researched for each post so you can easily copy and paste them in.
We also have a column with check boxes for “Approved” and “Scheduled” so we can keep track of what is ready to schedule and what has already been scheduled.

Step 2: Review the social media holiday calendar
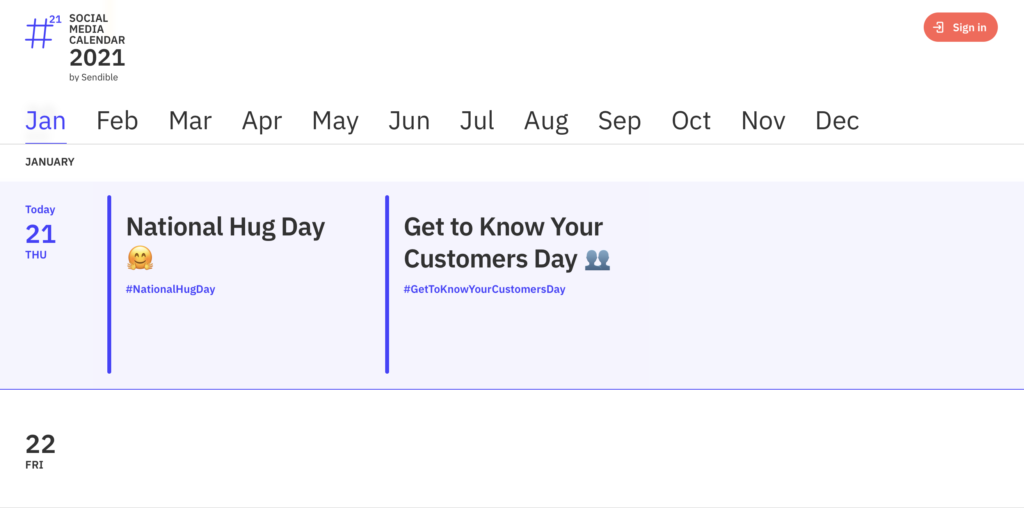
A good way to start filling in your content calendar is by finding any industry-relevant social media holidays for the month that you can post about. There are several different Social Media Holiday Calendars available for you to pull from that can be found easily with a simple Google search. We often reference the one from Sendible since we use their scheduling tool.
Team Strategy Tip: You don’t need to post about EVERY social media holiday! Find the ones that are relevant to your business and make sense to post about.
Step 3: Review any important awareness months/holidays
Just as with social media holidays, you want to make sure you include any relevant awareness months and holidays in your content calendar. Do a quick Google search to make sure you are covering awareness months within your industry and plug those and their relevant hashtags into your content calendar.
Step 4: Decide how many days a week to have content going out.
Remember, quality over quantity!
Step 5: Lay out your themes
Do you plan on sharing #MotivationalMonday quotes? Do you want to make every Tuesday a “Behind the Scenes” post and every Thursday an “Employee Spotlight” post? Mark those down on your calendar.
Step 6: Do your research.
Want a startling stat to share for one of your posts? Want to share any article from an industry leader? Set aside 30min-1hr to do any necessary research.
Step 7: Write copy
Block out an hour or two on your calendar and start writing! Once you have the copy written for one platform, adopt it for the others. Add any relevant links to be shared in the “Links” column.
Step 8: Create graphics or find/take a photo to accompany the copy
Once your copy is written, link any photos you have to share or create the relevant graphic. Remember to stay on brand with the correct color scheme and font.
Team Strategy Tip: Graphics should be re-sized for each platform.
Step 9: Send for approval (if required)
We have our approvers also include any comments directly to each post using the Comment feature on Google Sheets.
Step 10: Schedule your content!
We use Sendible to schedule our content due to the variety of platforms they offer, reporting tools and cost; however, there are a variety of options out there. Pick a few that work for your budget and give them a trial run to find the one that makes the most sense for your business.
Now repeat for the remaining 11 months of the year!
If you just read through this and aren’t sure you have the bandwidth to create content calendars for your business on top of your other daily tasks, don’t stress. Contact us about our social media management services.